Give a Little, Part Five
As I mentioned in my last post, I'm on a mission to finish up some projects. Today we'll look at a Project Linus quilt that was built by committee.
This is the front of what I call Penguin Quilt. It's 42" x 48". Five of the blocks were donated; I made the rest. I showed you the top last September before it got sent out for quilting. The quilting is done and it came back home for me to do the binding.
The inspiration for this quilt came from a few musical blocks donated by other guild members. In this photograph, the top row center block was donated and I made the rest.
I didn't have much to go with it in my stash (other than some grays and black/white), so I went shopping. The penguin fabric was a perfect match. I think I got that at JoAnn Fabrics. I bought the yellow/black/white/gray circle motif fabric at Hobby Lobby. It's penguin eggs, don't you think?
I bought the gray music fabric (lower right) to continue the music theme. It was fun making more blocks.
The upper left and bottom right were donated. Note the tiny musical motif in the bottom right block.
This is the back. The center blocks were donated. I pieced them and added some coordinating borders. It's kind of a shock to see this on the back, since one side doesn't have anything to do with the other except for yellow. But it sure gives versatility to the quilt with completely different looks on each side.
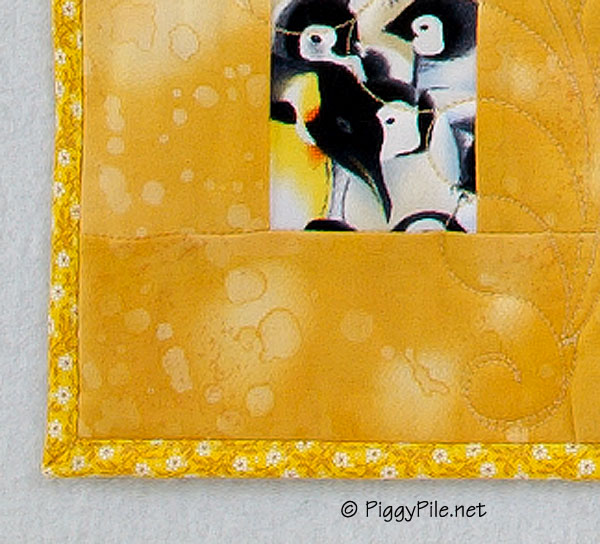
Here you can see the nice quilting that a guild member did.
Didn't she do a great job?
I'm not very good at quilting, but I've become proficient at 100% machine-sewn bindings. I learned how to do it as a time-saving measure,
plus I told myself it would make the charity quilts more sturdy. This is the front of the quilt. You sew on your binding like normal. Then instead of turning it and sewing it to the other side by hand, you do the following.
- Turn the binding under and eyeball it so the folded edge extends a little to the left of the seam allowance. You want the folded edge to cover the seam allowance.
- Hold it in place with your fingers and sew on top of the binding, just barely to right of the seam that joins the binding to the quilt. Sew for a few inches.
- Turn under the next few inches and hold it even, then sew it.
- Keep inching your way down the edge.
- When you get to the lower edge, finish off that seam with some stitching in place.
- Cut the threads, turn the quilt 90 degrees and do the same thing on the next side.
- Continue until all four edges are done.
This is the back, neat as can be. It took some practice, but now it works great for me and it can for you, too.


No comments:
Post a Comment
Your comment won't display immediately.